patandpaulharvey.blogspot.com · Field Log
Visibility and surge notes from a dive log.
A multi-level wall and cave dive in Maroro Bay.
A multi-level wall and cave dive in Maroro Bay.
A multi-level wall site in Maroro Bay with a shallow ledge, a nearby swimthrough, and a wall and cave section packed with texture and life. It is easy to start on the shallow top of the site and then move into the structure, so it suits a calm boat run, tidy buoyancy, and a patient pace around the wall. The site also rewards a low-drama window because the best details show up when the water is settled and the structure can be read cleanly.
Conservative baseline from public research. No community dives logged yet.
Depth range, seasonality, and planning context.
Reported Depth
3m - 25m
Depth Note
A shallow ledge starts around 3 m, the pinnacle rises from 18 m, the swimthrough sits around 11 m, and the wall and cave section runs into the mid-20s.
Best Season
Calm-weather windows, especially in summer and shoulder months, are the easiest fit for the site.
Typical Conditions
The site is easiest in settled water with good light; surge can build on the wall and make the cave mouth less relaxed.
Site conditions, restrictions, and access requirements.
Site Conditions
Safety Notes
Keep buoyancy tidy around the overhangs, wall edge, and cave mouth, and avoid forcing the tighter sections if surge is up.
Access Restrictions
Boat access only through a reserve-compliant Poor Knights operator.
Legal Notes
Poor Knights marine reserve rules apply, including no landing, no fishing, and no careless anchoring.
Community notes to help plan your visit.
Scuba Diving
A guided multi-level route: start on the shallow ledge, follow the wall, and only press into the cave or swimthrough when the sea is calm.
Freediving
Confident freedivers can use the shallow ledge and top of the wall in calm water, but the deeper cave and wall are better left to scuba.
Snorkeling
Snorkelers can enjoy the shallow ledge and bay-facing structure in calm water, but the wall and cave are better underwater.
Species commonly reported at this site, with direct links into their wildlife guides.
Community dive logs and visit reports for this site.
Average conditions based on logged dives & visits.
Planning answers for access, conditions, timing, and site logistics.
Last Updated
Research Sources
Visibility and surge notes from a dive log.
Poor Knights site list mentioning Brady's Corner/Meditation Wall.
Reserve rules and access context.
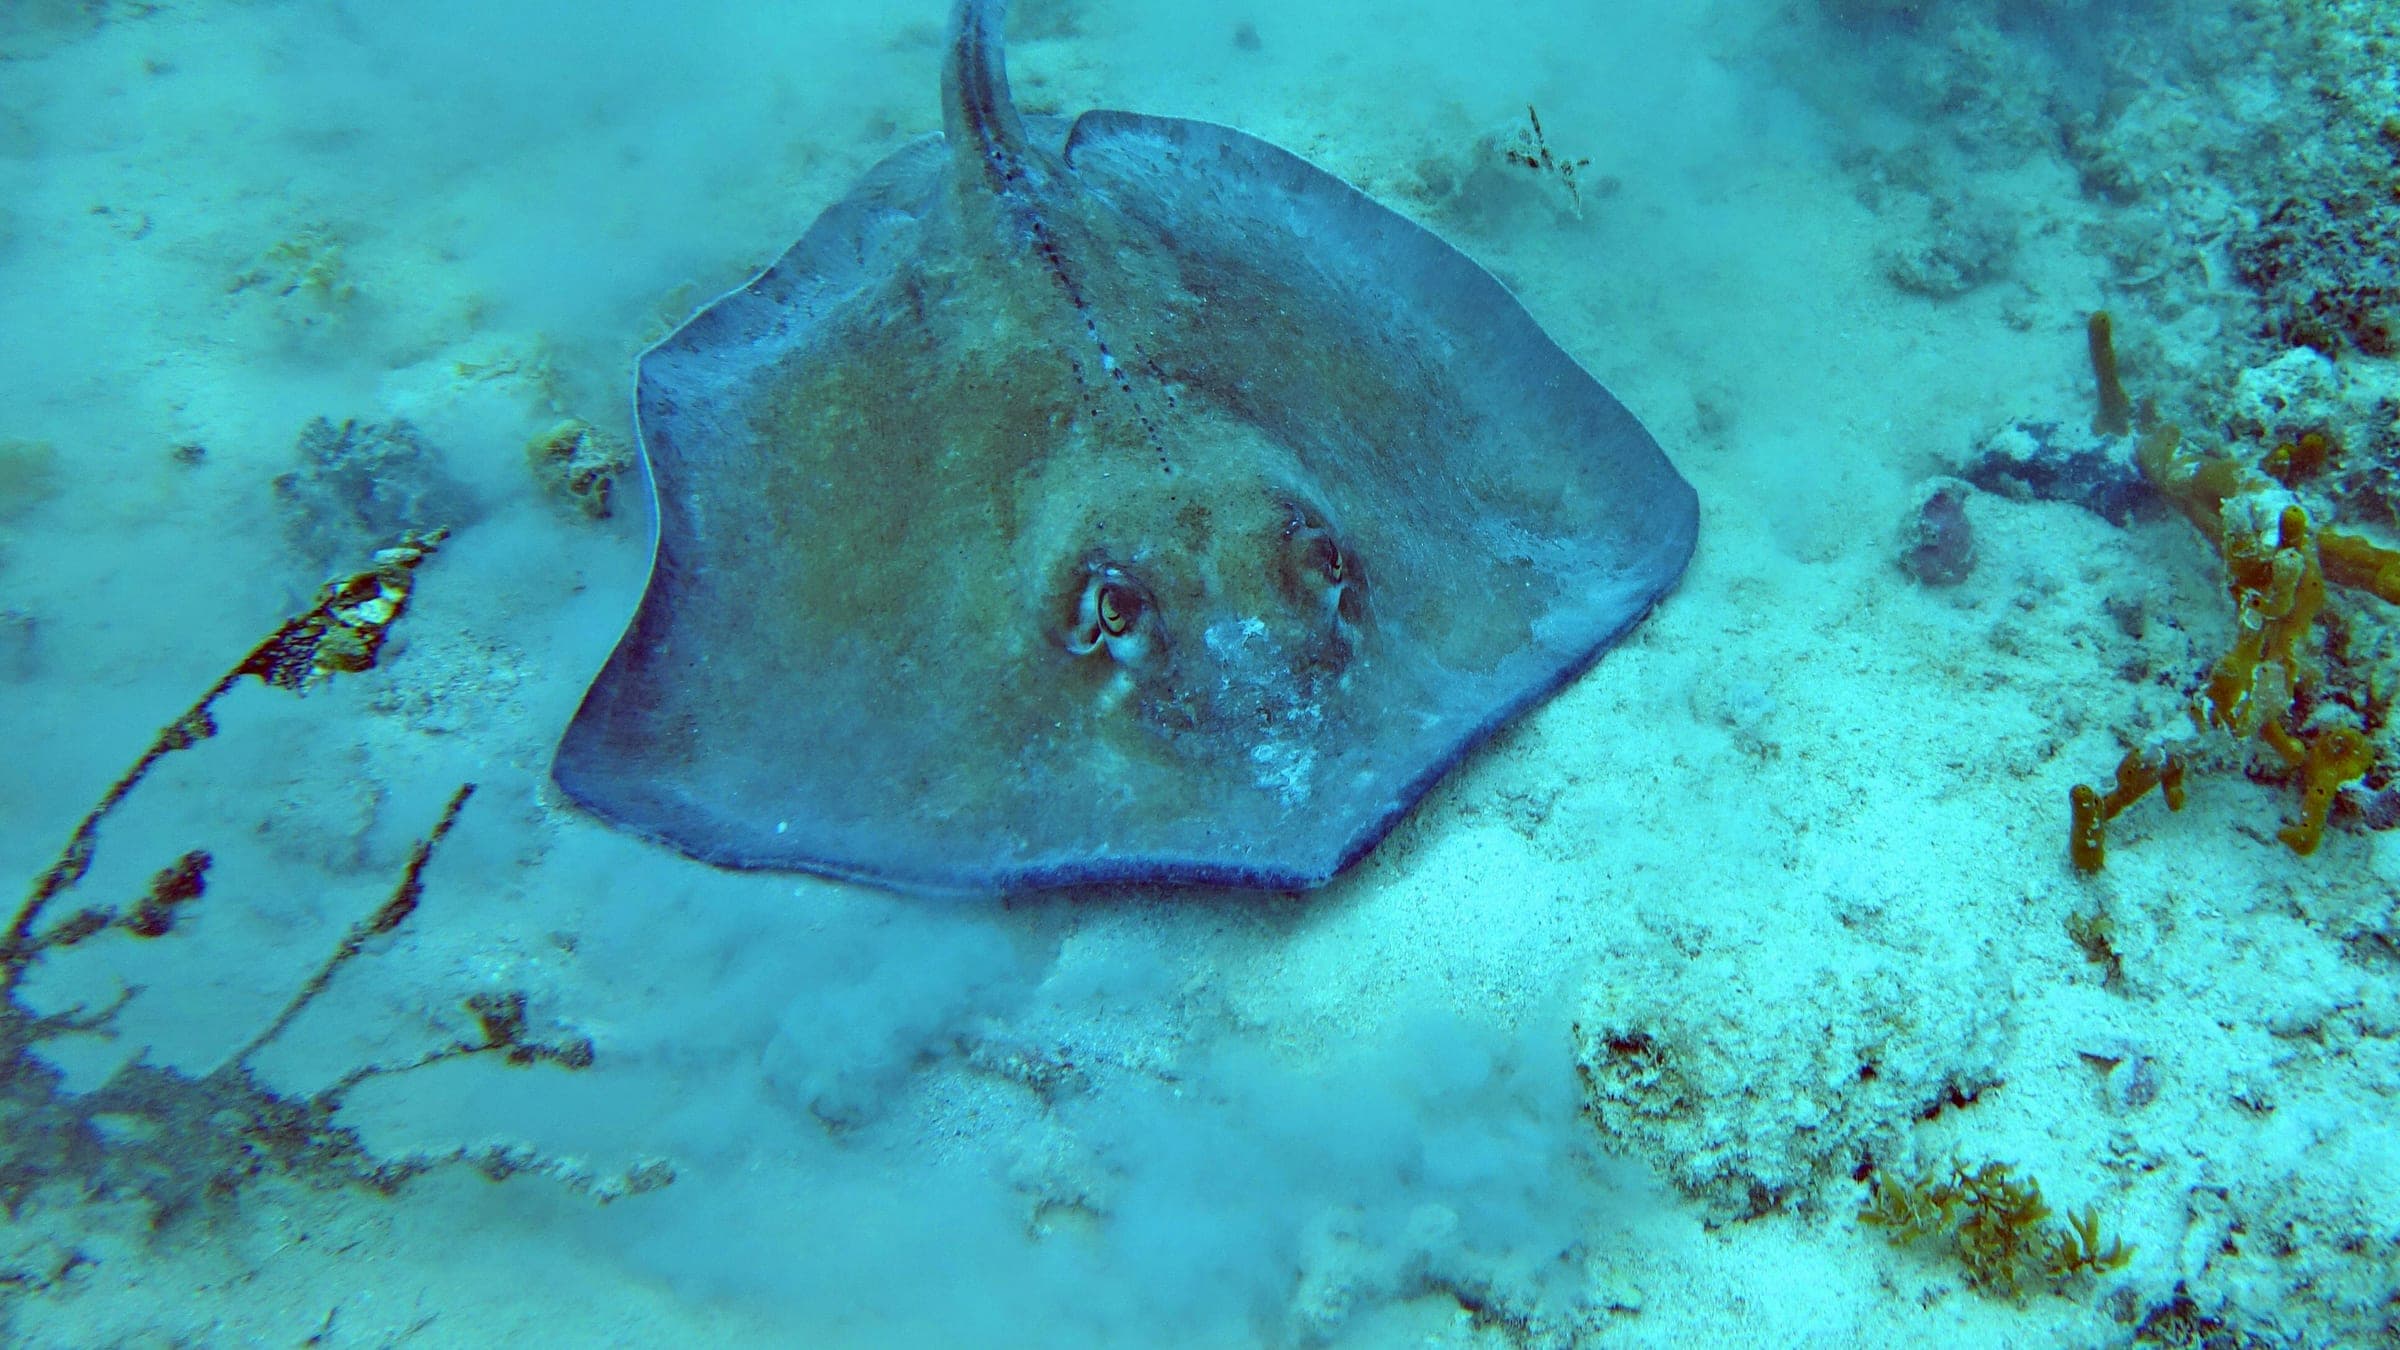
Snorkel report with fish schools and stingray sighting.
Know this site? Improve Spot Details.
Boat-dive wall site in the Poor Knights with steep rock and rich marine life.
Tie Dye Arch: exposed Poor Knights swim-through for calm days
Exposed Poor Knights pinnacle with deep walls and fish schools.
Deep frigate wreck off Tutukaka for trained scuba divers.
Whangaumu Bay is a sheltered Tutukaka Coast bay.
Mcgregor's Bay: shallow shore dive with reef fingers